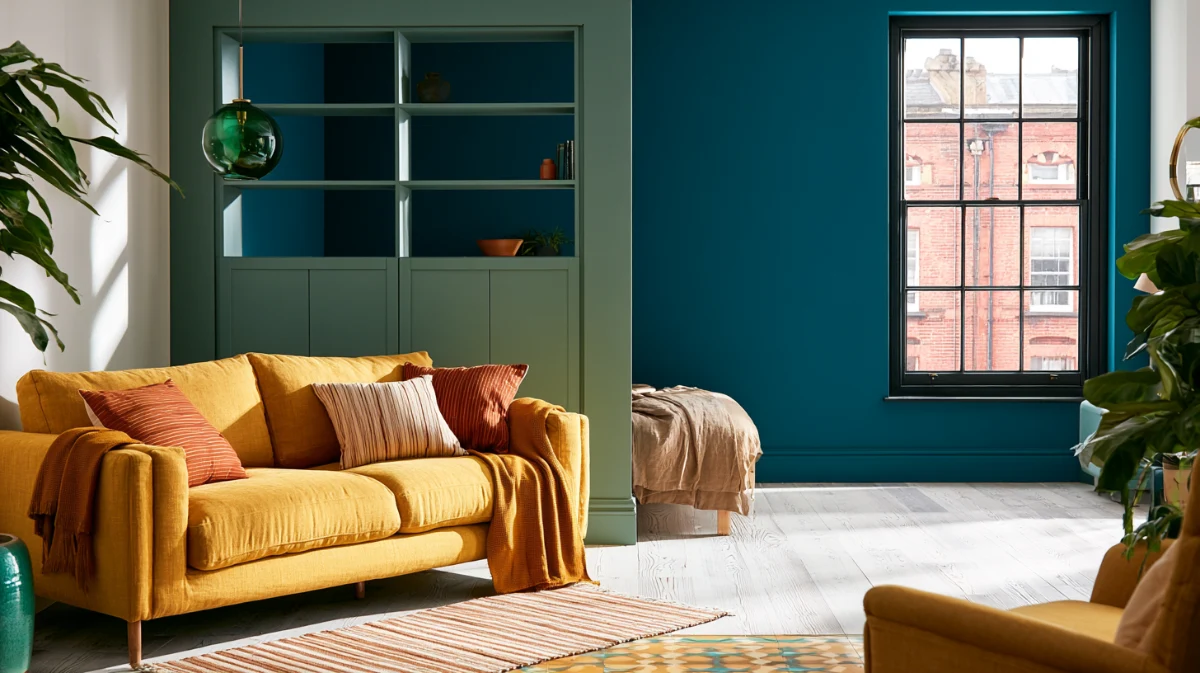

Dividing a studio apartment comes down to one number: the height of whatever you put between the zones. That height decides what gets hidden and how much daylight reaches the far side, which matters more than what the divider is made of.
Work out which sightline you actually need blocked, then buy to that height and no taller.
It is tempting to start by shopping for a screen. Starting with a tape measure and the furniture you already own is cheaper and often ends the search.
What a divider is really being asked to do
People say they want privacy, but three different things hide behind that word, and almost no divider delivers more than one of them well.
Deciding which one you actually need is the first real step in working out how to divide a studio, and it saves you buying the wrong thing.
Sight is easy and cheap to block. Sound needs mass and is expensive, and daylight is the thing you lose without meaning to.
Sound is the one you probably cannot solve
Blocking sound needs weight, and a curtain or a shelving unit has almost none. A heavy velvet panel takes the edge off an echo without stopping a conversation carrying across the room.
If sound is the real problem, headphones and a white noise machine cost less and work better than any divider you could build in a rented flat.
Sight is usually what people mean. The specific complaint is normally seeing an unmade bed from the sofa, or a desk from the bed late in the evening.
That leaves sight and light, and those two trade directly against each other. Blocking more of one means losing more of the other, whichever divider you pick.
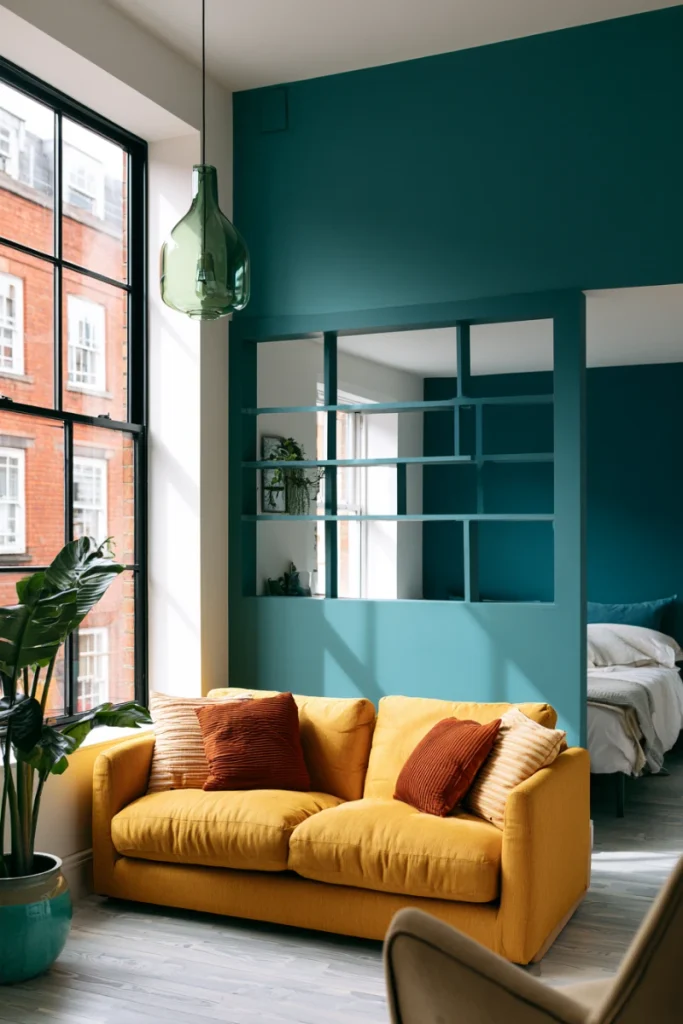
The heights that decide everything
A divider only hides what sits below eye level, so the useful question is whose eyes, and whether they are sitting or standing.
This measurement decides how to divide a studio, and it is worth taking before you shop rather than after.
Ergonomics data puts average standing eye height at about 62 inches and average seated eye height at about 46 inches from the floor, with roughly five inches either side depending on the person.
| Divider height | Seated sightline | Standing sightline | What it is good for |
|---|---|---|---|
| 36 in | Open | Open | Marking a zone, not hiding one |
| 48 in | Partly blocked | Open | Hiding a desk surface from a sofa |
| 54 in | Blocked | Open | A working screen for seated zones |
| 62 in | Blocked | Partly blocked | Genuine separation without a wall |
| 72 in and up | Blocked | Blocked | A room within a room, and the most light lost |
The awkward gap is between 54 and 62 inches. A 54-inch unit hides a messy desk perfectly while you are sitting down and hides nothing at all when you stand up to answer the door.
Going taller than you need costs daylight in every hour of the day, while the sightline you were worried about only mattered for a few of them.
Measure your own eye height sitting on your own sofa before buying anything, because the averages above vary by five inches either way, and your sofa may sit lower than most.
Have someone hold a tape at the height you are considering while you sit in your usual spot. You will know within seconds whether it is enough.
Level 1, dividing with nothing at all
The cheapest way to divide a studio uses no object at all, and in a small flat it is often the right answer.
A rug under the seating with the furniture turned to face away from the bed will read as two zones without costing a single square foot of floor.
What works at this level
- A rug sized so the front legs of every seat sit on it
- Separate lighting for each zone, so one can be dark while the other is lit
- Seating that faces away from the sleeping area
- A change of flooring or paint colour on one wall
None of this hides anything, which is the point. You are telling the eye where one area ends rather than building a barrier.
It costs nothing, and it loses no daylight, so it is worth trying before anything taller goes in the room.
Lighting does more of this work than people expect. A lamp in the living zone and nothing lit at the sleeping end separates them convincingly after dark.
This level suits square studios best, since a square room has no natural division to work with.
Level 2, furniture doing the work
The next level up uses something you were going to buy anyway, turned sideways.
Furniture is the most efficient way to divide a studio, because the same object holds your things and breaks the sight line.
A sofa placed across the room rather than against a wall breaks the sight line at about 30 inches and costs you no extra floor.
Thirty inches hides very little on its own, though it changes how the room reads from the door, which is often enough.
Pieces that divide well
- A sofa with a finished back, since the back is now on display
- A low console or sideboard behind the sofa, which adds height without blocking light
- A wardrobe turned perpendicular to the wall, for a genuine floor-to-ceiling break
- A desk with its back to the sleeping area
A wardrobe used this way blocks more than anything else here, and it is the piece people tend to forget they already own.
Check the back panel first, because an unfinished back looks poor from the other side. A length of fabric or a coat of paint fixes that cheaply.
Anchor anything tall to a wall or a ceiling if the lease allows a single fixing, because a wardrobe standing free in the middle of a room is a tipping risk rather than a weight one.
Whatever you use has to earn its footprint twice over, and choosing pieces that do two jobs is most of furnishing a studio.
Read more: a room that has to hide a whole desk needs more than a screen
Level 3, open screens and shelving
Open shelving is the most popular way to divide a studio, and it is oversold. It blocks less than people expect, and it collects clutter on both faces.
When it works
Choose it when you want the zones to read as separate without losing daylight, and when you can keep both faces of the shelving tidy.
Leave at least a third of the shelves empty, because a packed unit reads as a wall of stuff from whichever side you are standing on.
Put boxes in the lower shelves and leave the upper ones open, so the light still passes at eye level while the clutter stays hidden below.
Things that belong on a divider shelf:
- Books, which are heavy and suit low shelves
- Lidded boxes, which hide what is inside them
- A plant or two at the open top
- Nothing that needs plugging in, since the cable has to cross the room
When it does not
A tall open unit standing free needs anchoring, and in a rented flat that usually means one small fixing at the top.
If the lease allows no holes at all, keep it under about 48 inches and put the heavy things on the bottom two shelves.
The weight rules are the same as any freestanding shelving, where a loaded top shelf is what makes a unit tip.
Level 4: curtains and solid panels
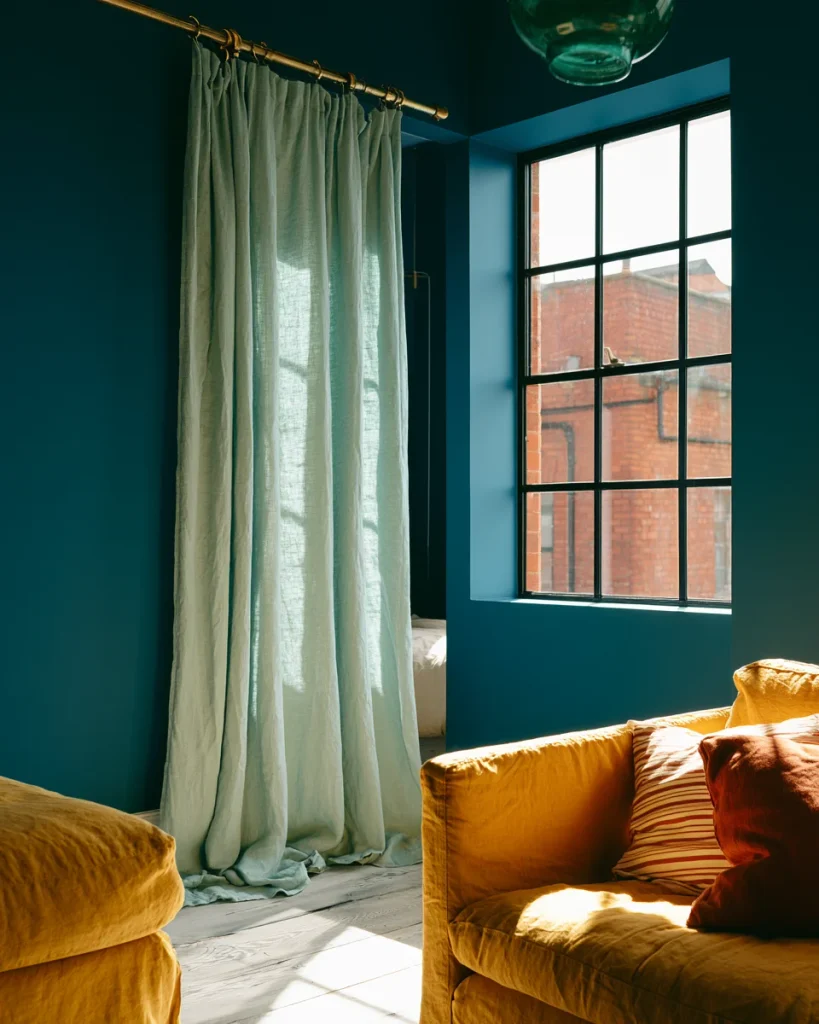
A curtain on a ceiling track is the only divider here that goes from nothing to full separation and back within a few seconds.
That flexibility is why it beats a folding screen, even though a screen needs no fixing at all.
Getting the track right
- A ceiling track rather than a rod between walls, which spans further and looks less temporary
- Fabric to the floor with about an inch of clearance, so it hangs straight
- A curtain about one and a half times the track length, so it gathers properly
- A light colour, because a dark curtain across a studio takes the daylight with it
Ceiling fixings need joists rather than plasterboard, so this is the first level that genuinely needs permission in a rented flat.
Ask before you drill. A ceiling track leaves holes that are harder to make good than anything on a wall.
A tension rod between two solid walls is the no-permission version, and it works for spans under about eight feet.
Check both walls are solid before ordering, because a rod pressing against plasterboard will pull through under the weight of a full curtain.
Folding screens are the weakest option here. They take up floor space, and they never quite reach the ceiling.
Read more: seating that works when the living zone is only half a room
What you give up in light
A studio usually has windows on one wall, which means anything you use to divide a studio stands between the glass and half your flat.
That cost is invisible until winter, when the far zone stops getting usable daylight by late afternoon.
The zone furthest from the window loses the most, and that is usually the sleeping area, which needs it least. The argument for putting the bed at the back is practical rather than a matter of taste.
Reverse it if the far zone is where you work, since the daylight should go to whichever zone you use during the afternoon.
Keeping the light while dividing
- Stop the divider short of the window wall by a foot or two
- Choose light colours on the side facing away from the glass
- Leave the top 12 inches open on any tall unit
- Put a mirror on the dark side of the divider to bounce what light does get through
A divider that stops short of the window wall reads as complete from inside either zone while letting daylight run along the gap.
The window wall constrains everything in a studio, and nothing tall belongs within a few feet of the glass.
Read more: clearing the flat before you divide it
Choosing in 2 minutes
Sit where you usually sit, look at whatever bothers you, and note how high it sits off the floor. That height plus a few inches is your divider.
Going taller than that buys separation you did not ask for, and the daylight it costs is permanent rather than occasional.
Work through it in this order
- Decide whether you need sight, sound, or light blocked, and accept you will get one
- Measure your own seated and standing eye height in the actual room
- Pick the lowest divider that blocks the sightline you care about
- Stop it short of the window wall so daylight still runs past
- Check what the lease allows before choosing between a track and a tension rod
If what actually bothers you is seeing the bed from the sofa, a 54-inch unit solves it, and a wall was never needed.
Live with the cheaper option for a fortnight before committing to anything that needs fixing. Rooms feel different once you have stopped noticing the change.
If the room still feels wrong afterwards, the problem is probably the layout rather than the division, and the shape of the room decides where the bed goes.
A studio that also has to hold a desk has an extra conflict to settle, since working and sleeping in one space needs a time boundary as well as a physical one.
And if dividing the room means the storage has to move, the space under the bed is the first place to look.