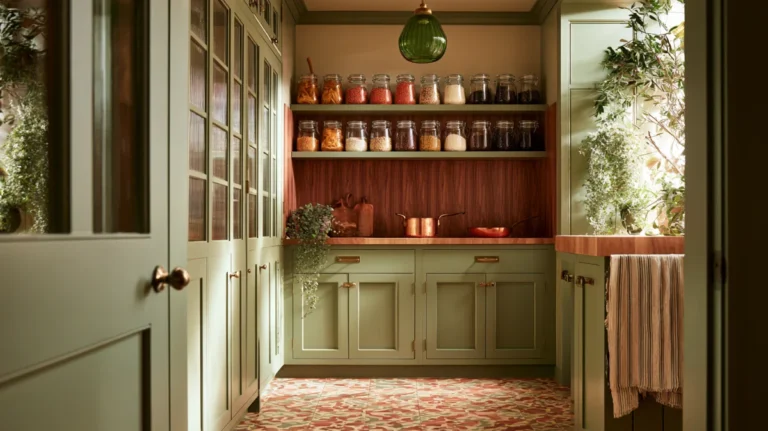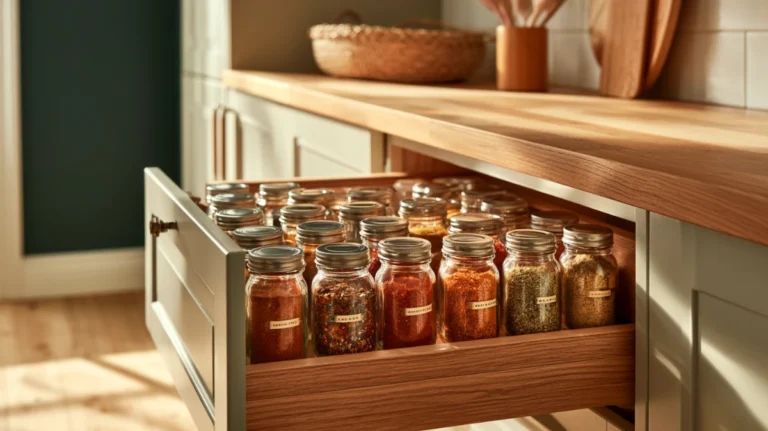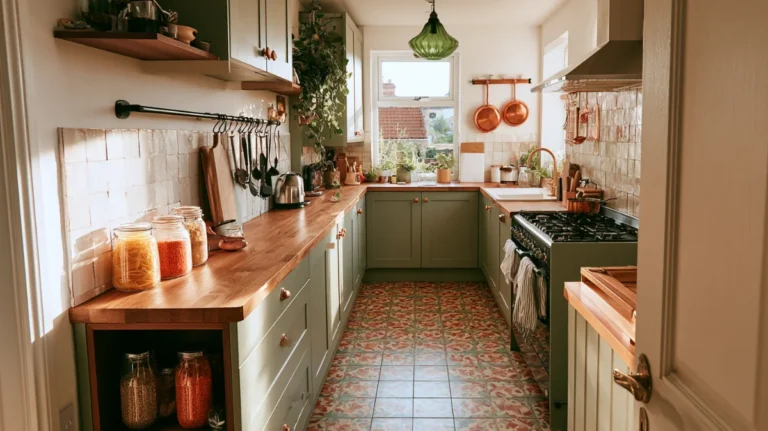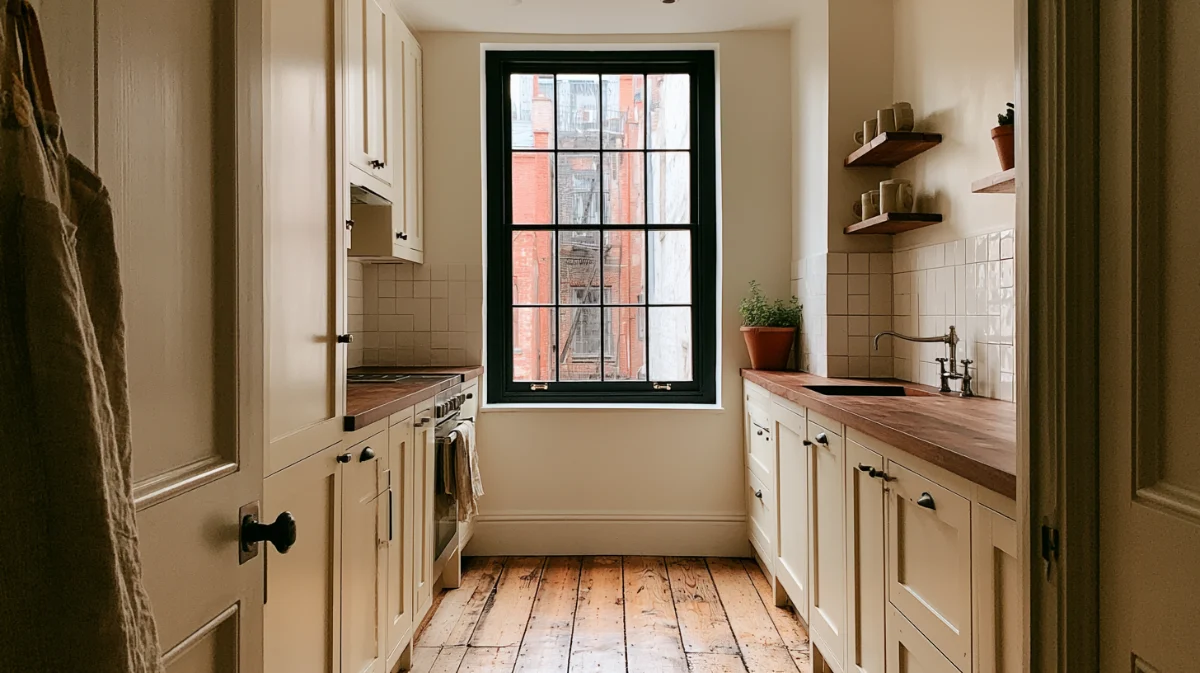


Kitchen organization ideas for small spaces work best in one order: empty a zone, purge by date, map where things belong, refill daily items first, fix the awkward spaces, then decant only what earns it. Two hours for the first pass.
This is the whole-room version. It assumes the kitchen is currently full and you have not decided what stays.
If yours is already sorted and the only question is where each thing goes, the placement framework answers that instead and this guide will feel like starting over.
Have these ready before Step 1
- Two hours, or one hour per zone if you split it
- A bin bag and a donation box
- A tape measure
- Every surface clear enough to stack on
Step 1: Pick one zone and empty it completely
This step tells you how much you actually own. Nothing else in the process works on a guess.
Choose the zone that annoys you most. Usually that is the cabinet beside the stove or the one under the sink.
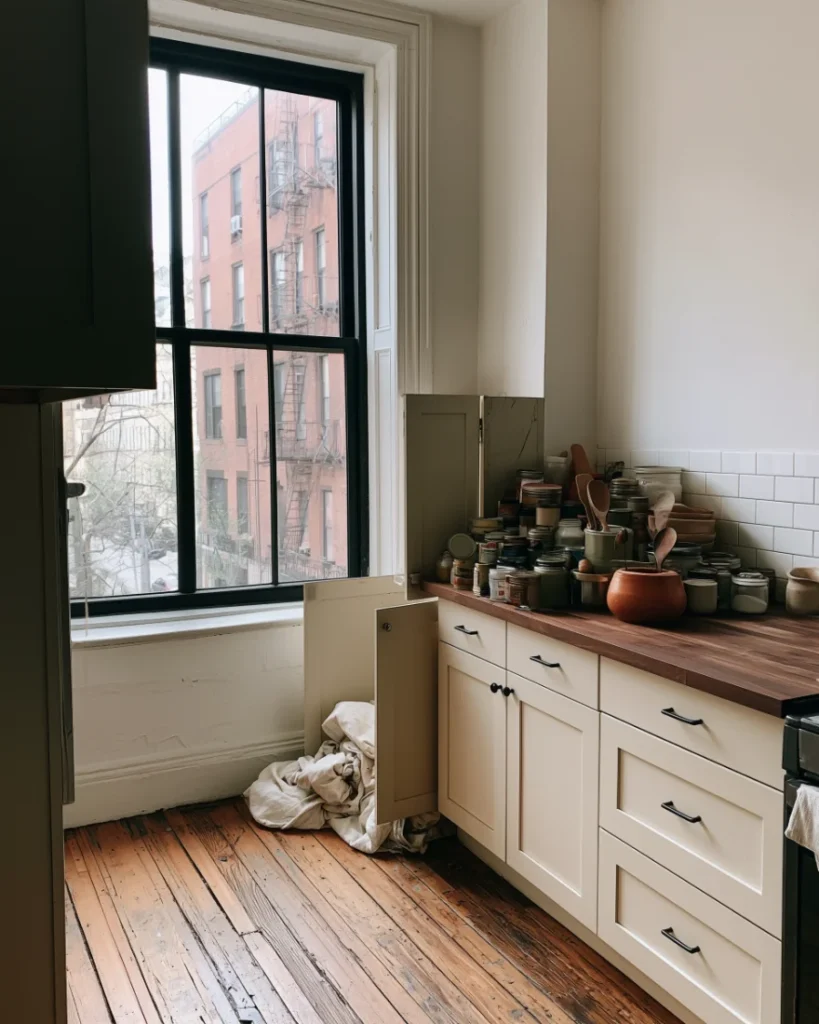
Take everything out and put it on a cleared counter or the floor. Everything, including the back row.
Group as you go: cook, clean, store, serve, prep. You are not deciding anything yet, only seeing it.
Deciding while you unload is how a forty minute job becomes a three hour one. Empty first, judge second.
Expect the pile to look worse than the cabinet did. That is the point of the step.
Photograph the pile before you touch it. It is the only honest record of what the zone was holding.
You will want it later, when you are deciding whether the reset actually held.
Wipe the empty shelf before you look at the pile. It takes two minutes and it stops the zone going straight back to how it was.
Why one zone and not the whole kitchen?
A whole-kitchen empty takes a full day and stalls halfway. A single zone takes forty minutes and finishes.
Finishing matters more than scale here, because the momentum is what carries you to the second zone.
Most people do two zones in the first sitting and the rest across a fortnight.
What if the kitchen is too full to empty anything?
Clear one counter run first and treat it as the staging area. Nothing gets organised until something has somewhere to go.
If no counter can be cleared, use the kitchen table or the floor of the next room.
Kitchen organization ideas that assume you have spare surface are the reason most small-kitchen guides stall at the first paragraph.
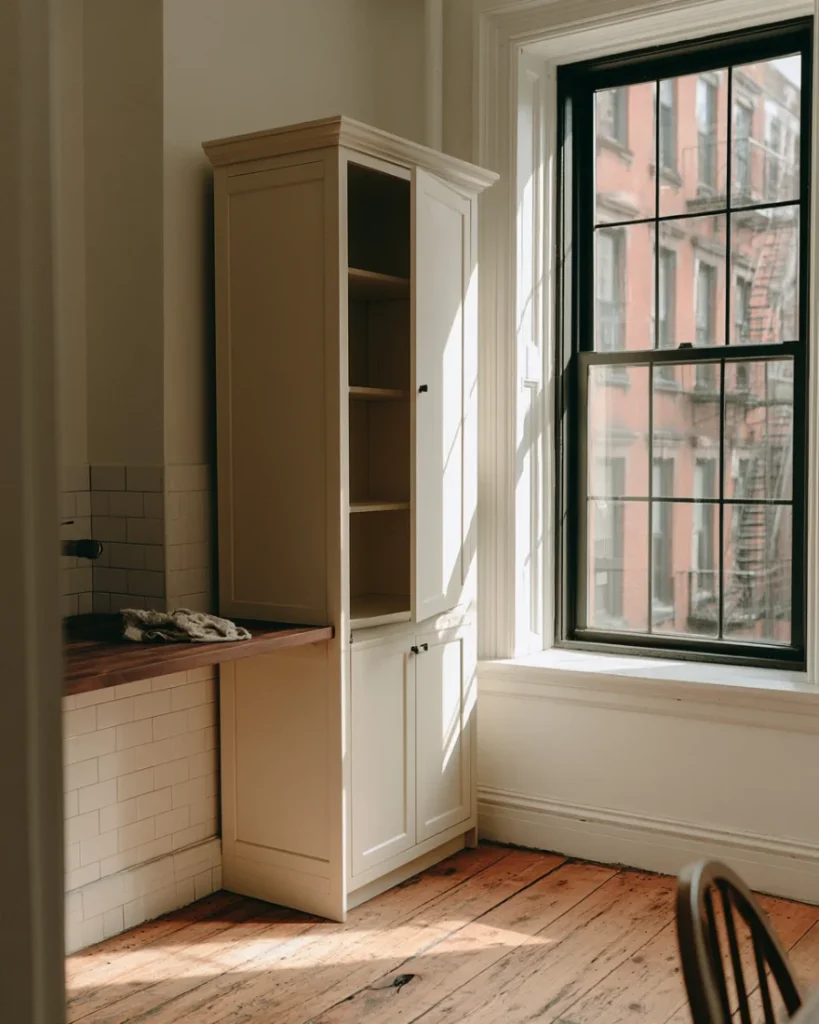
Done when:
- The zone is completely empty
- The shelf or cabinet interior has been wiped
- Everything from it is visible in one place
Step 2: Purge by date, not by feeling
This step removes the volume that no amount of clever kitchen organization ideas can absorb.
Feelings keep the pasta maker. Dates do not.
Work in two passes. Food first, because it is fast and mostly decided for you. Equipment second, because that is where the arguing happens.
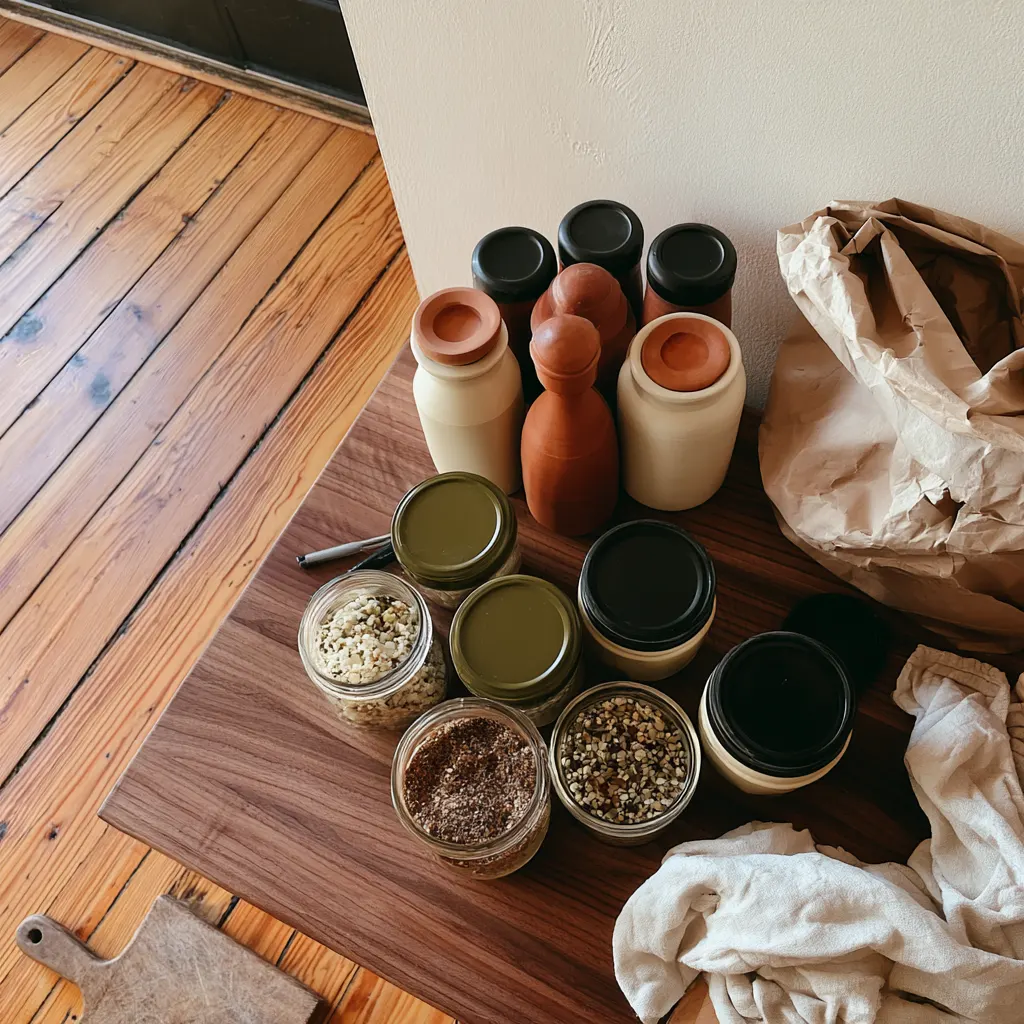
What goes straight out
Work through the pile once with three questions and no negotiating.
- Is it past its date, or open and older than the label allows?
- Is there a second one of it in this pile?
- Has it been used in the last twelve months?
Pantry storage times are not guesswork. The USDA publishes shelf life guidance for pantry, fridge and freezer items, which settles most of the arguments faster than opening the jar.
The equipment pass
Equipment is harder because nothing has a date on it. Use frequency instead.
Anything untouched for twelve months goes in a box, and the box goes out of the kitchen for a month.
If you do not open that box in a month, it leaves the flat. Most people open it once, for one item.
This is the part of small-space kitchen organization ideas that people skip, and it is the part that actually creates room.
The duplicate rule
Duplicates are the single biggest source of volume in a small kitchen.
Three wooden spoons, four spatulas, two colanders. Keep the best one and let the others go.
The exception is anything you genuinely use two of at once, which for most people is chopping boards and mixing bowls.
Count before you decide. Line the duplicates up on the counter and the answer is usually obvious without any rule at all.
Single-use gadgets are the other easy win. An avocado slicer and a garlic press both lose to a knife.
Appliances are the hard case, because they cost money and moving them on feels wasteful.
That cost is already spent. What it costs you now is the shelf, and a bread maker used twice is an expensive shelf.
Read more: what to do when even one cabinet feels like too much to start
Done when:
- The bin bag is out of the house
- The donation box is by the door
- Nothing in the keep pile is a duplicate you tolerated
Step 3: Map the five zones before anything goes back
This step decides placement once, so you stop relocating the same items every few months.
Every kitchen, however small, runs five jobs. Assign each one a physical area before you put a single thing away.
In a large kitchen the zones get their own walls. In a small one they share, and the sharing has to be deliberate.
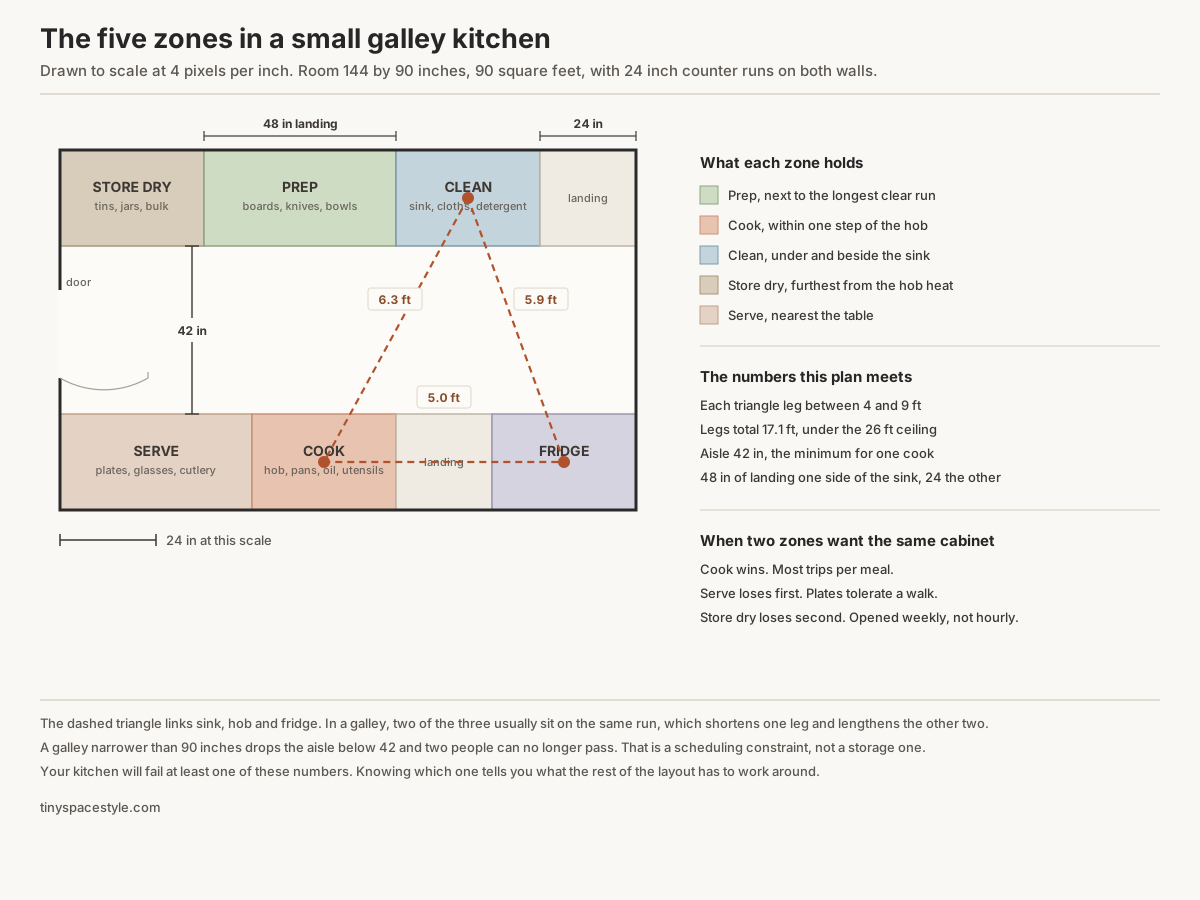
| Zone | What lives there | Where it should sit |
|---|---|---|
| Prep | Boards, knives, bowls, scales | Beside the largest clear counter run |
| Cook | Pans, oil, salt, utensils, pot holders | Within one step of the hob |
| Clean | Detergent, cloths, brushes, bin bags | Under or beside the sink |
| Store dry | Tins, jars, dry goods, bulk items | The cabinet furthest from the hob heat |
| Serve | Plates, glasses, mugs, cutlery | Nearest the table or the dishwasher |
What if two zones want the same cabinet?
Cook wins. It is the zone with the most trips per meal and the highest cost when something is out of reach.
Count the trips if you are unsure. Cooking one weeknight meal involves roughly twenty reaches into the cook zone and three into serve.
Prep and cook can share a zone in a galley. Clean should not join them, because the sink end stays wet.
If a zone has to split across two cabinets, split it by weight. Heavy low, light high.
Serve loses first, because plates and glasses tolerate a longer walk than a hot pan does.
Store dry loses second. Tins and jars are opened once a week, not once a meal.
When a zone gets pushed out entirely, send it to another room rather than cramming it. A bookshelf in the hall can hold the bulk tins.
The distances worth knowing
Kitchen planning guidelines give numbers that hold even in a galley.
- Each leg between sink, hob and fridge should run 4 to 9 feet
- The three legs together should total under 26 feet
- A work aisle wants at least 42 inches for one cook, 48 for two
- Leave 24 inches of landing counter on one side of the sink and 18 on the other
In a small kitchen you will fail at least one of these. Knowing which one tells you what to work around.
A galley under 42 inches wide means two people cannot pass. That is a scheduling problem, not a storage one.
Under 24 inches of landing beside the sink means the draining board is your prep surface, so nothing else can live there.
Neither is fixable without a renovation. Both change what the rest of these kitchen organization ideas should aim at.
Done when:
- Every one of the five zones has a named cabinet or drawer
- The cook zone is within one step of the hob
- You have written the map down somewhere
Step 4: Put the daily items back first
This step protects the prime space from being colonised by things you touch twice a year.
Refill in strict order: daily, then weekly, then monthly. Anything left over is the real problem, and you will see it clearly.
Refilling in category order is what puts the fondue set at eye level and the everyday pan on the floor.
What counts as daily
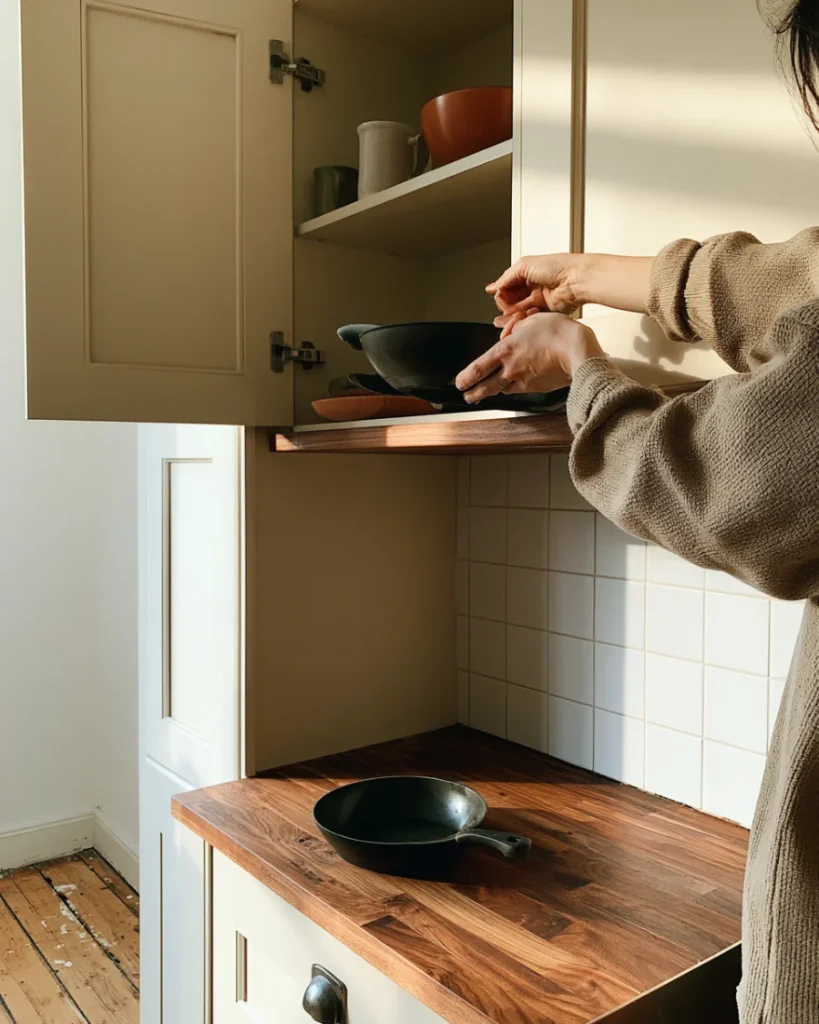
Fewer things than people expect. For most households it is one pan, one pot, two boards, the everyday plates and mugs, and the cooking oil.
Everything else waits its turn. If the daily set alone fills the prime cabinets, the counter is where the overflow will land next.
Should anything live on the counter?
Only what you use every single day and would otherwise take out and put back every single day.
For most people that is the kettle and a knife block, or the kettle and nothing.
A magnetic strip takes the knife block off the counter entirely, if the wall allows a fixing.
A permanent counter item costs you prep surface for every meal, so the bar is high.
Where the leftovers go
Whatever is still on the counter when the monthly items are back has no home in this kitchen.
Three honest options: another room, the donation box, or a genuinely new gap you have not used yet.
What is not an option is putting it back on the counter and calling the job finished. That is where the last reset died.
Read more: finding gaps in a kitchen that looks completely full
Done when:
- Daily items are all at counter height or the first wall shelf
- Nothing monthly is occupying a prime shelf
- The leftover pile is smaller than a shopping bag
Step 5: Solve the two awkward spaces
Every small kitchen has the same two problems, and both stay unsolved because they need a specific fix rather than a general one.
The corner cabinet
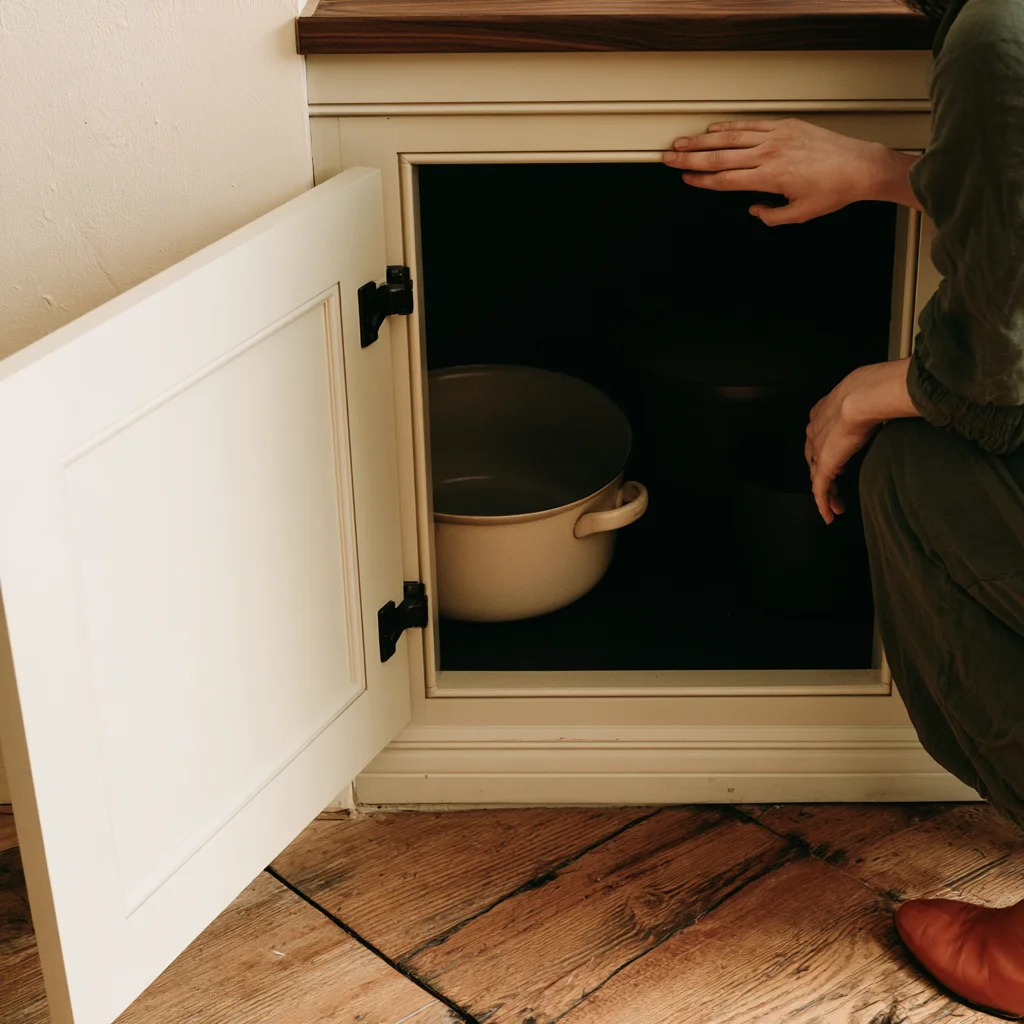
A blind corner swallows whatever goes in and returns nothing.
Store one category there and only one: the large, light, rarely used items. Roasting tins, a stockpot, a picnic set.
One category means you never have to move something to reach something else, which is the whole failure of a blind corner.
A cheap turntable helps if the opening is wide enough. Measure the opening, not the cabinet.
Heavy things at the back of a corner never come out again, which is why pans usually need a different home entirely.
Under the sink
The trap and the waste pipe make this the least shelvable cabinet in the house.
Work around the pipe rather than over it. Two narrow bins either side beat one wide bin every time.
Leave the area directly under the trap empty. That is where a slow leak shows first, and a bin hides it for months.
A cheap tray under the pipe turns an invisible leak into an obvious one.
Keep the bin out of this cabinet if there is anywhere else for it. It is the one item that makes everything down there smell.
If there is nowhere else, give it the side away from the cloths.
Keep it to cleaning only, since food under a sink is a damp risk, and the plumbing dictates most of the layout down there.
Done when:
- The corner holds one category, not four
- Nothing heavy sits behind the corner opening
- Under the sink is cleaning supplies only
Step 6: Decant only what earns it
This step is where most kitchen organization ideas for small spaces quietly go wrong, because decanting looks like progress and often is not.
Containers take more shelf volume than the bags they replace. That trade only pays on some items.
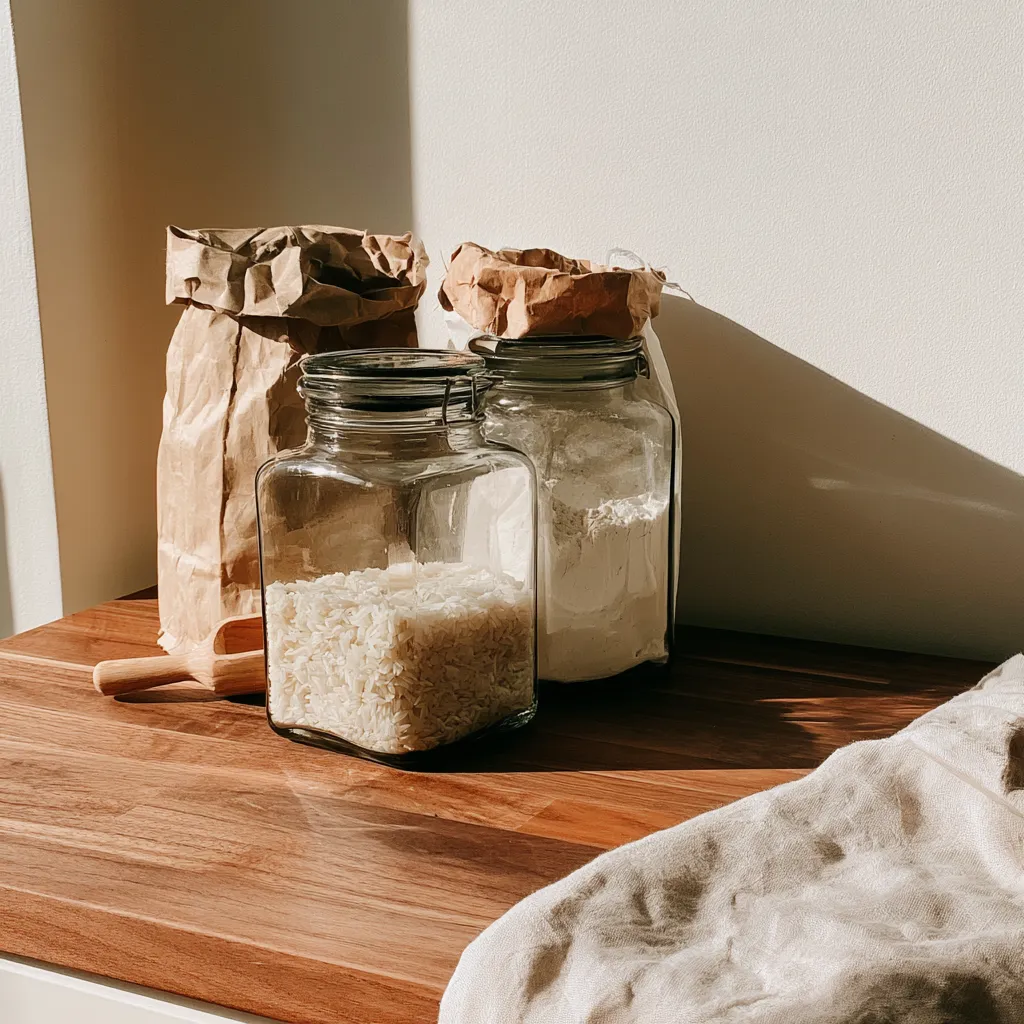
A bag of rice slumps into whatever space it is given. A jar of rice does not, and it takes up its full footprint whether it is full or nearly empty.
What is worth decanting
- Anything bought in bulk that outlives its packaging
- Anything that spills, like flour, sugar and rice
- Anything you need to see the level of at a glance
Everything else stays in its packet. A half-used bag of lentils in a jar is a jar you now have to store.
Decanting also hides how much you have. Two bags of rice look like two bags. Two jars look like storage.
The two rules that stop it going wrong
Square containers, not round. Round wastes roughly a fifth of a rectangular shelf to the gaps between them.
Write the date on the base, not the front. The date is what you check when the label has long stopped being useful.
Buy one size and buy it twice rather than a graduated set. Matching heights stack; graduated sets do not.
A set of ten identical jars beats a set of fifteen in five sizes, every time, in a cabinet under 24 inches wide.
The same logic runs the food cupboard, and a single-cabinet pantry has its own order of operations.
Done when:
- Only bulk, spillable and check-the-level items are decanted
- Containers are square and stack
- Every container has a date on its base
Step 7: Set the ten minute weekly loop
This step is what makes the previous six last longer than a month.
Same ten minutes every week, same order, no decisions required.
Pick the slot before the weekly shop. That way the fridge is emptiest and the purge is fastest.
The order that works
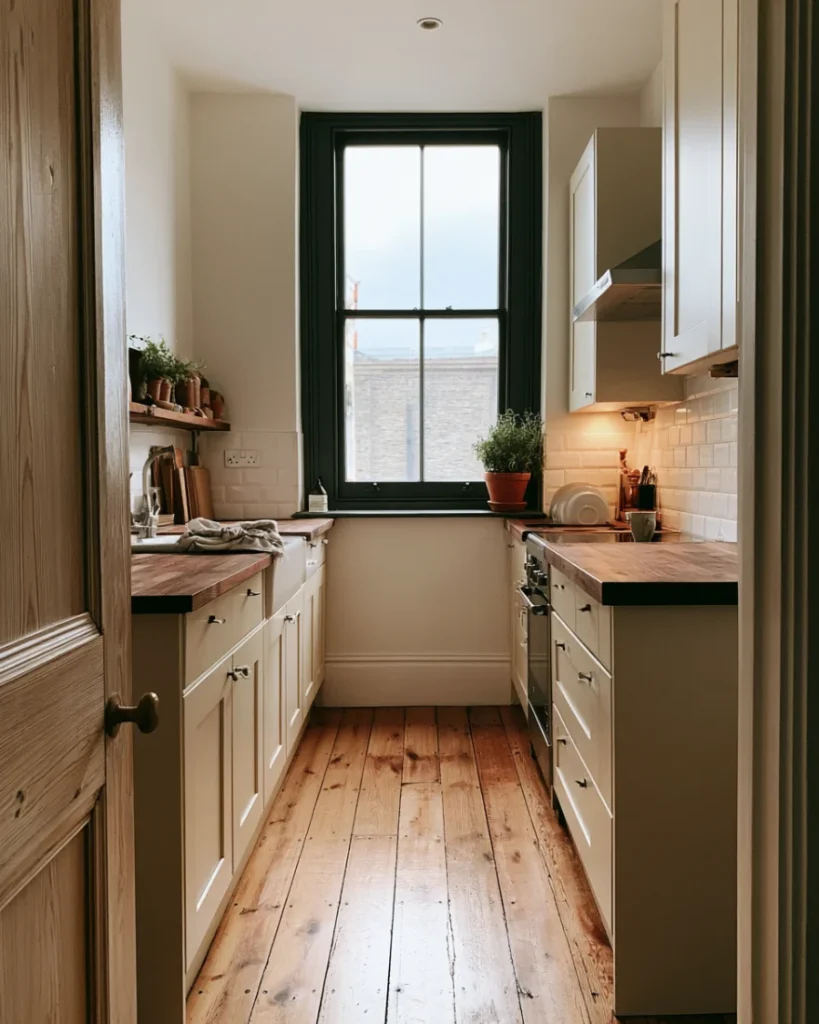
- Counter first, everything back to its zone
- Fridge second, anything past its date out
- Cook zone third, pans and utensils reset
- Bin and recycling last
Ten minutes weekly is less total time than one annual clear out and it prevents the state that needs one.
What to do when the loop gets skipped
It will get skipped. Two weeks missed is normal and costs nothing.
A month missed means the zones have drifted and the next loop takes twenty minutes instead of ten. Still cheaper than a reset.
The failure mode is not skipping. It is deciding the whole system is broken and abandoning it after one bad fortnight.
When to re-run the whole thing
Twice a year, or whenever a zone stops holding what it was assigned.
Seasonal change is a good trigger. The kitchen you cook in during January is not the one you cook in during July.
A move, a new appliance or a new person in the flat resets the zone map whether you redo it or not.
Redoing it deliberately takes an hour. Letting it drift costs the whole reset again.
A zone that keeps overflowing is telling you the volume is creeping back, which is a buying pattern rather than a storage failure.
Done when:
- The loop is in your calendar
- It runs on a fixed day, not when the kitchen looks bad
- You have re-run the full reset once and it took under an hour
If You Only Have One Hour
Do steps 1, 2 and 4 on the cook zone alone, and skip the rest for now.
That is the cabinet beside the hob emptied, purged, and refilled daily items first.
It is about a fifth of the work and it fixes the zone you touch most, which is why it is the right hour to spend.
Doing one zone properly also tells you whether the rest is worth your Saturday. Most people find it is.
What you should not do in that hour is buy anything. Every purchase made before the zone map exists is a guess.
Measure, live with the zones for a week, then spend. That order is worth more than any of the kitchen organization ideas here on their own.
These kitchen organization ideas for small spaces work in any order once the zone map exists. Before that, the order is the method.
Come back for the zone map when you have another two hours, or run the whole thing as part of a structured month across the flat.
Studio kitchens work the same way with one extra constraint, since the kitchen shares its wall with the living space.
And once the zones hold, the remaining wins are vertical: shelf depth and weight limits, container sets that stop breeding, a drawer that finally holds the spices, and zoning the fridge the same way you zoned the room.